
A Thorough Guide to Drying Apples! 3 Steps and Tips You Can Do Easily at Home

Summary of this article
As methods for drying apples, we explain three procedures: oven (low-temperature drying at 100°C or below), sun-drying (2–3 days), and food dryer (6–8 hours at 50–60°C). We also introduce 2 mm slicing, preventing discoloration with saltwater or sugar water, and variety-by-variety characteristics such as Fuji, Jonathan, Orin, and Shinano Sweet. We also deliver a storage method with a moisture content of 12.5% or below, and usage ideas for yogurt, granola, and flavored tea.
TOC
The prep before drying determines the finish
For apple drying, 70% is determined by the prep before applying heat. Even using the same variety and the same dryer, skipping the little effort of cut thickness and discoloration prevention makes a difference in the finish, becoming sticky or turning cloudy brown. First, let's grasp the three points of prep.
How to choose varieties suited to drying
The more firmly sweet a variety, the more the flavor concentrates after the moisture is drawn out for a delicious finish. "Fuji," easy to obtain for home use and with few failures, has firm flesh that holds its shape even when heated, and because it is richly sweet, it makes a satisfying flavor even without adding sugar.
On the other hand, acidic "Jonathan" and "Jonagold," when dried, bring out a sweet-sour note, suiting confectionery-making and yogurt toppings. Drying a sweet type and an acidic type half-and-half and tasting them side by side reveals the direction you prefer. For the individuality of each variety, see the apple-variety ranking.
Guide to cut thickness and how to cut
Thickness is the most important point that determines the finish. For a crisp chip form, about 2–3 mm; for a semi-dry soft-dry, about 5–7 mm is the guide. If the thickness varies, thin parts scorch and thick parts stay half-dry, so slice as uniformly as possible. If you're not good with a knife, using a slicer evens out the thickness.
Cutting into rounds (slicing crosswise) leaves the star shape of the core, finishing prettily. Removing the core with a corer or a small round nozzle makes the work go faster. Leaving the peel on without peeling becomes a textural accent and improves the color too.
Prevent discoloration with saltwater or lemon water
Leaving cut apple standing oxidizes it and turns the cut surface brown. Preventing discoloration before drying makes the finished color much brighter. The method is just to dissolve about 1/4 teaspoon of salt, or about 1 tablespoon of lemon juice, in around 500 ml of water and soak the sliced apple for about 3–5 minutes.
After soaking, thoroughly wipe off the moisture with a paper towel. If moisture remains on the surface, it not only extends the drying time but also causes stickiness, so be careful here. Saltwater leaves almost no salty taste, and lemon water adds a faint acidity, so it is good to use them by purpose.
Method 1: Easy dried apple made in the oven
Oven drying can be started without buying special tools. While it finishes in a short time, the temperature tends to rise and it scorches easily, so a low-temperature setting and tending it partway are the tricks.
Guide to temperature and time
Set the oven to a low temperature around 100°C and dry for about 1.5–3 hours as a guide. Shorter for 2–3 mm chips, longer for the 5 mm or more semi-dry type. Because home ovens vary greatly in heat output by model, treat the time as only a guide and adjust while watching the state. If it has a convection (hot-air circulation) function, unevenness is reduced and it dries faster.
How to arrange and tend it partway
Line a baking tray with parchment paper and arrange the apples spaced apart so they don't overlap. If they overlap, the touching parts don't dry and stay raw. Taking them out once every 30–40 minutes and flipping them top-to-bottom dries both sides evenly. To let out the water vapor trapped inside, wedging cooking chopsticks in the door to leave a slight gap keeps humidity from building up and gives a lighter finish.
Method 2: Old-fashioned dried apple made by sun-drying
A method of drying using only the power of the sun and wind, without electricity. It takes effort and days, but the slow drying brings out a concentrated flavor. Because it is swayed by weather and humidity, the point is to aim for a stretch of clear weather.
The drying environment and how to arrange
Arrange the apples without overlapping on a flat colander or drying net and place them in a well-ventilated, sunny spot. To avoid humidity from the ground, a slightly elevated place such as on a stand is suitable. If bugs and dust are a concern, using a mesh drying basket gives peace of mind.
Drying days and bringing it in at night
It depends on thickness and weather, but for a crisp finish, about 2–4 days in clear weather is the guide. Dry it during the day and bring it indoors at night so it doesn't absorb humidity. Leaving it out lets the morning dew make it moist again, causing mold. Flip it several times partway, and once the surface starts to dry, discern the drying state while checking the thick parts. In the humid rainy season, it is safest to avoid sun-drying and switch to another method.
Method 3: Finishing stably with a food dryer
If choosing for the stability of the finish, it's the food dryer. Because it can keep the set temperature constant, it isn't swayed by weather and makes dried apple with little unevenness. It suits those who want to make a lot or make it repeatedly.
Temperature setting and drying time
Basically, set the food dryer to around 55–70°C and dry slowly over about 6–12 hours. The more slowly you dry at a lower temperature, the brighter the color and the more the aroma remains. Set it shorter for a semi-dry soft type, and longer for a crisp finish. On models with multiple tray tiers, the drying differs between upper and lower tiers, so swapping the tray positions partway gives an even finish.
The easy amount to make and cleanup tips
Rather than packing the tray with no gaps, arranging them with enough space for air to pass dries them efficiently. Because apple sugar tends to stick to the tray after drying, soaking it in lukewarm water right after use makes it easier to wash. When you want to check the result early, taking out one thin piece from the edge, letting the residual heat go, and checking the texture makes it easier to judge.
Comparing the three drying methods
Which method to choose depends on the tools on hand, the amount you want to make, and the time you can spend. The table below organizes the characteristics. If it's your first time, we recommend a flow of trying a small batch with the oven on hand, and considering a food dryer once you make it often.
| Method | Temperature guide | Time guide | Suited to |
|---|---|---|---|
| Oven | Around 100°C | About 1.5–3 hours | Wanting to try easily without buying tools |
| Sun-drying | Outdoor temperature (clear weather) | About 2–4 days | Wanting to enjoy a natural flavor without electricity |
| Food dryer | Around 55–70°C | About 6–12 hours | Wanting to make a volume with a stable finish |
Discerning the finish and crafting the texture
Even with the same recipe, the texture changes greatly with the timing of stopping the drying. Deciding whether you aim for semi-dry or crisp before you start drying reduces failure.
Discerning the semi-dry (soft) type
For the moist, chewy semi-dry type, the guide is a state where the surface is dry while elasticity remains in the center. It is ready to eat when it bends and flexes but returns without breaking when lightly bent with a finger. Because moisture remains, the shelf life is shorter, so eat it up early or store it refrigerated or frozen. Cutting it thicker and finishing the drying time shorter gives this texture.
Discerning the crisp (chip) type
To make a crisply snapping chip form, slice thin and thoroughly drive off the moisture. When you let the residual heat go and press with a finger and there is no bounce, and it snaps, it is done. Even if it feels soft from the heat right after drying, it tightens and hardens when cooled, so always judge the firmness after cooling. Misjudging here and stopping while still half-dry causes stickiness.
The correct storage method after drying
Even if you dry it well, storing it wrongly makes it absorb humidity and the texture returns, or mold appears. Sealing it after fully cooling is the golden rule. Putting it into a bag while warm makes droplets form inside, triggering spoilage.
Using room-temperature, refrigerated, and frozen storage by purpose
The crisply dried ones can be stored at room temperature in a sealed container or zip bag with a desiccant. Avoiding direct sunlight and high heat/humidity and eating them up early gives peace of mind. For the semi-dry type with remaining moisture, refrigeration is recommended, and freeze it if you want to store it long. Freezing makes the texture less prone to damage and is convenient, letting you take out just what you eat. Because condensation forms easily right after taking it out of the freezer, leaving it in the bag a while to return to room temperature before opening prevents humidity.
Common failures and countermeasures
The points where dried-apple making tends to trip up boil down to almost three patterns. Knowing the causes makes it much more stable from the next time.
Sticky / half-dry
The biggest cause of a sticky finish is insufficient drying. Often it is one of: the moisture not being fully wiped off in prep, the cut being too thick, or the drying time being insufficient. The countermeasures are to thoroughly wipe off the moisture after soaking, to even out the thickness, and to check the firmness after cooling and dry more if lacking. When re-drying too, proceed at low temperature while watching the state.
Scorching / poor color
Only the edges scorching in the oven is a sign that the temperature is too high or flipping is insufficient. Lower the set temperature and swap top-to-bottom frequently. The cut surface turning cloudy brown tends to happen when discoloration prevention is skipped, so adding the little effort of saltwater or lemon water improves it.
Mold grows
Mold occurs when it is sealed with moisture remaining. Leaving the semi-dry type in a sealed container at room temperature for long is especially dangerous. It can be prevented by keeping to these three points: dry thoroughly, seal after fully cooling, and refrigerate or freeze the semi-dry type. If there is even the slightest odd smell or appearance, do not eat it even if it seems wasteful.
Usage ideas for dried apple
Homemade dried apple can be used widely not only as a snack as is but also as a material for cooking and sweets. Because drying concentrates the sweetness, even a small amount is satisfying.
Incorporating it into daily meals
You can use it with a little daily ingenuity — chopping it fine and mixing it into yogurt or granola, or floating it in black tea for fruit tea. For the semi-dry type, kneading it into bread or muffin dough is also recommended. Concrete recipes are compiled in how to eat dried apple / recipes. Storage ingenuity for enjoying fresh apples for a long time is in how to store apples in winter as well.
The option of commercial dried apple
When you're short on time, or want to try one with a stable texture before setting it as a homemade goal, commercial products are also useful. Agriture's dried honey-cored, non-bagged Shinshu apple is sugar-free and slowly dried over two days at high temperature, finished to a hard, crunchy texture. Because it is made with only the ingredient's own sweetness, it also becomes a clue to the finished form of the crisp type you aim for at home.
Summary: Master the steps and tricks and you can make it plenty delicious at home
Apple drying is a simple process of, after arranging the prep of variety selection, uniform cutting, and discoloration prevention, just driving off the moisture with one of the oven, sun-drying, or food dryer. The finish is determined by the timing of stopping, and deciding whether semi-dry or crisp in advance reduces failure. After drying, sealing it after fully cooling, and storing the semi-dry type refrigerated or frozen, is safe. Because the three failures — stickiness, scorching, and mold — have clear causes, knowing the countermeasures makes it gradually stable. First, try a small amount with the oven on hand and find your preferred thickness and texture.
Honey-cored Shinshu apple, domestic dried apple
Sugar-free, a crunchy new texture—dried fruit of honey-cored "leaf-unremoved Shinshu apple"
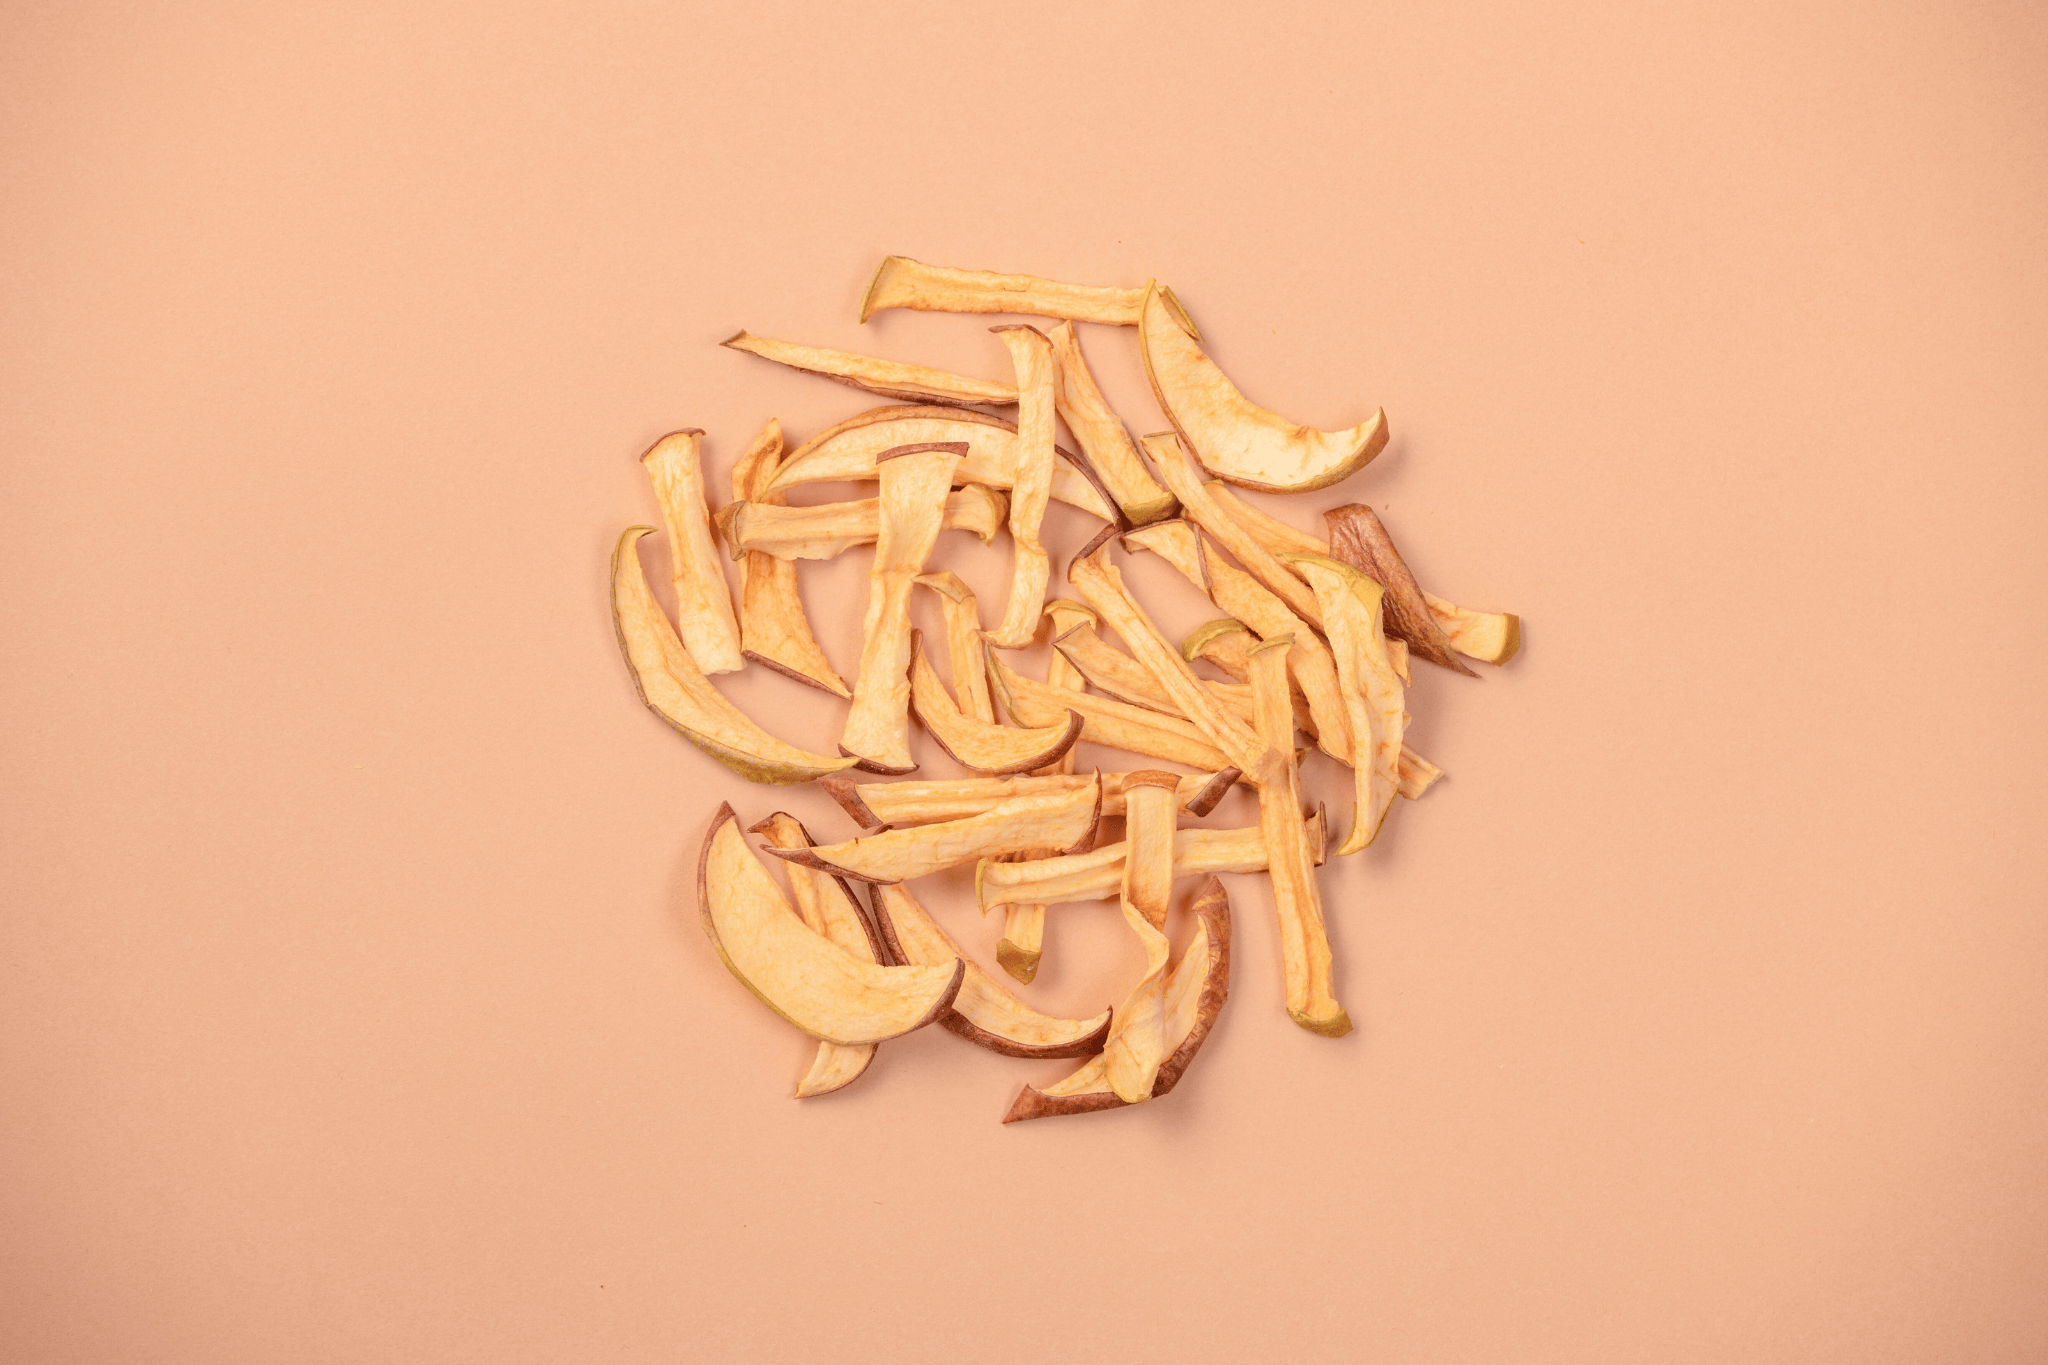
- Made with honey-cored "leaf-unremoved Shinshu apple"
- Sugar-free, dense natural sweetness
- Available in two forms, stick and dice
Recommended reading
- 10 arrangements for eating dried apple
- Apple-variety popularity ranking
- How to Store Apples in Winter: 10 Tips to Make Them Last
- Domestic dried apple (non-bagged Shinshu apple)
FOR BUSINESS
乾燥りんごを、原料としてお探しですか
国産のりんごを乾燥・粉砕してお出ししています。カット形状や粒度の指定、継続してのお取引もご相談ください。規格は 乾燥りんご に掲載しています。
少量でのご購入は、姉妹ブランドの通販サイト OYAOYA で承っています。
- りんご1個は何グラム?ふじは350グラム、紅玉は240グラムです
- What are the challenges of apple farming? A thorough explanation of the current state and solutions